How To Use Oil Paint On Wood?
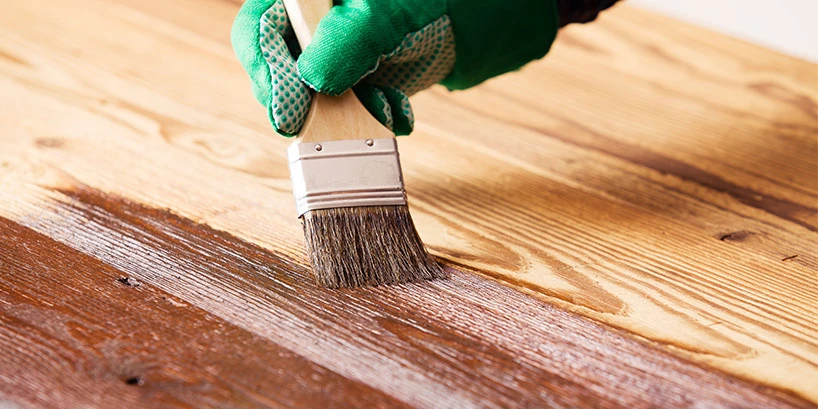
To use oil paint on wood, start by sanding the surface smooth and removing all dust. Apply a wood primer or sealer to prevent the paint from soaking into the wood, then let it dry completely. Brush on the oil paint in thin, even coats, allowing each layer to dry fully before adding another. Proper surface preparation and patience with drying time help achieve a smooth, long-lasting finish.
Sand, seal, prime, then build thin oil layers on wood, fat over lean.
Stripping Paint From Wood: A Common Challenge If you’ve ever tried to remove old paint or varnish from wood
If you want a smooth, long-lasting finish, learning how to use oil paint on wood is a smart move. I’ve painted on panels for years, from small studies to gallery work. This guide gives you a simple, proven process. You will learn each step, why it matters, and how to avoid common mistakes that ruin a piece.
Why Paint Wood With Oils?
Wood panels stay flat and feel solid under the brush. They give sharp detail and crisp edges. Many artists choose wood for portraits, icons, and still life work.
Yet wood moves with changes in humidity. Oil paint can crack if you skip prep. The good news is this is easy to manage. Seal all sides and prime the face. Then paint in thin, controlled layers.
I will show you how to use oil paint on wood in a way that lasts. The steps here come from studio practice and conservation advice. They work for small panels and large projects.
Best Zinsser Primer For Wood is Zinsser B-I-N Advanced often delivers the best wood stain blocking.
Tools and Materials You Need
Gather your kit before you start. This speeds up the workflow and keeps it clean.
- Wood panels: birch ply, maple, or MDF with sealed edges
- Sandpaper: 120, 180, 220, and 320 grit
- Tack cloth or lint-free cloths
- Denatured alcohol or odorless mineral spirits for wipe-downs
- Sealers: de-waxed shellac or archival PVA size
- Primers: acrylic gesso or oil ground
- Brushes: soft flats and rounds for primer, bristle and synthetic for paint
- Palette: glass or sealed wood
- Mediums: linseed or stand oil, alkyd medium for faster drying
- Solvent: odorless mineral spirits for clean-up
- Rags, gloves, and a metal safety can for oily rags
- Varnish: removable picture varnish, gloss or satin
This setup supports the full process of how to use oil paint on wood. It also keeps your surface stable and safe.
Choosing the Right Wood Panel
Picking the panel is half the battle. Your paint film can only be as stable as the support.
Hardwood vs. Softwood
Hardwoods like birch and maple hold detail. They resist dents. Softwoods can compress and show grain through the paint. I reach for birch ply when I need a smooth base.
Plywood and MDF
High-quality plywood with many thin plies stays flat. MDF is very smooth and cheap. But MDF soaks up moisture fast if edges are not sealed. Seal all sides and edges no matter what panel you choose.
Reclaimed or Solid Wood
Old boards look cool but move more. Solid boards can warp with seasons. If you use them, glue on a cradle at the back. Seal front, back, and edges. Test a small scrap first to check adhesion.
Knowing the right panel makes how to use oil paint on wood much easier. You start with less risk and a better feel under your brush.
Step-by-Step: How to Use Oil Paint on Wood
Follow these steps in order. Small details make a big difference in the final look.
- Acclimate and Seal the Back
Let the panel sit in your space for a day. This reduces warping. Then seal the back and all edges first. Use de-waxed shellac or archival PVA size. - Sand the Face
Start with 120 or 180 grit. Level raised grain and glue spots. Move to 220, then 320 for a fine tooth. Wipe dust with a tack cloth. - Degrease
Wipe the surface with alcohol or a light pass of odorless mineral spirits. Let it dry. This removes oils from handling. - Size the Wood
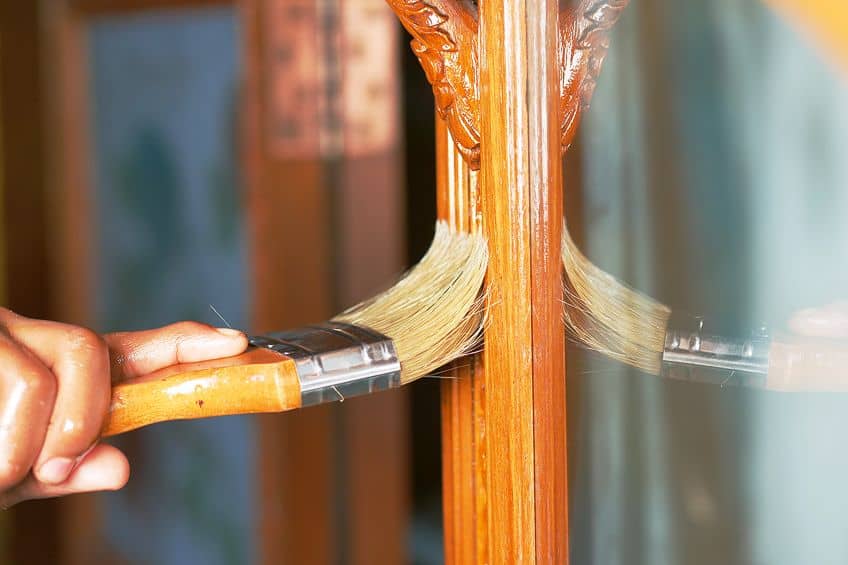
Apply a thin coat of de-waxed shellac or PVA size. This blocks oil from sinking into the wood. It also reduces support movement. Let it dry fully. - Prime the Face
Choose acrylic gesso or an oil ground.
- Acrylic gesso is fast, flexible, and easy to sand.
- Oil ground gives a silky tooth and classic feel.
Apply two to three thin coats. Sand lightly between coats for a smooth surface.
- Plan and Sketch
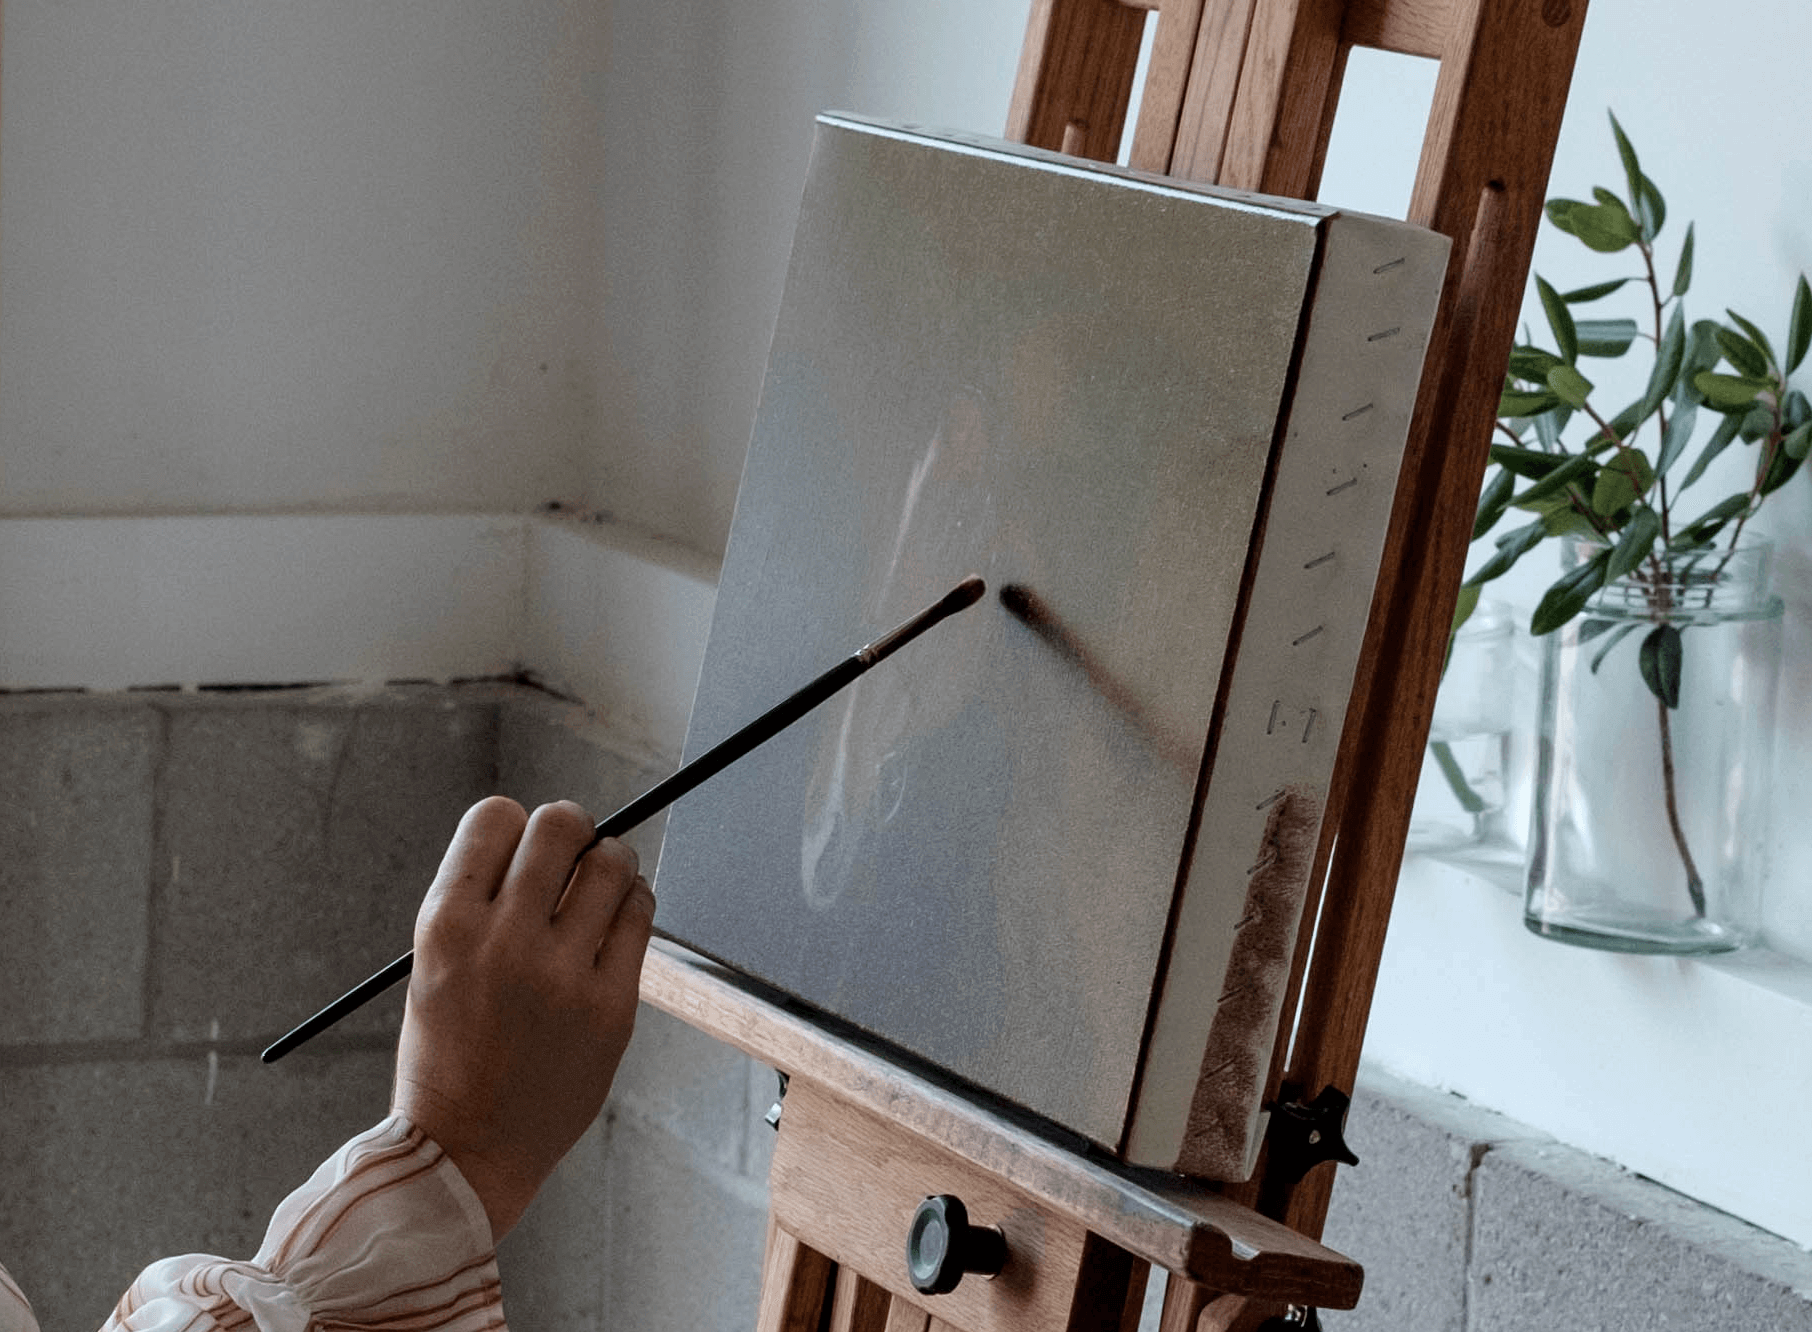
Do a light drawing in graphite or charcoal. Fix smudges with a spray fixative if needed. Some artists tone the ground with a thin wash. A warm neutral underlayer helps later mixing. - First Paint Layers: Lean
Use paint straight from the tube or with a lean medium. Keep layers thin. Work general to specific. Avoid heavy impasto early on. - Build Up: Fat Over Lean
Add more oil or alkyd as you go. Each new layer should be more flexible than the last. This helps prevent future cracking. This rule sits at the heart of how to use oil paint on wood. - Drying and Patience
Let each layer dry to the touch before you add more. Thin layers dry faster and even. Use alkyd medium if you need speed. - Final Details and Glazes
Use small amounts of medium for glaze depth. Test colors on the edge of the panel. Keep details crisp and spare to avoid muddiness. - Cure and Varnish
Let the painting cure well before varnish. This can take weeks to months based on paint thickness. Use a removable picture varnish. Apply in a dust-free space.
These steps will make how to use oil paint on wood simple and repeatable. Stick to thin layers and clean prep. Your work will age better and look tighter.
Finishing and Protection: Varnish That Lasts
Varnish evens gloss and protects the paint film. It also boosts color depth. Use a removable varnish so you or a conservator can clean it someday.
Tips that work well:
- Wait until paint is dry to the core. Thin paintings may be ready in 2–3 months. Thick ones need longer.
- Choose gloss for depth and color pop. Choose satin to reduce glare.
- Brush on in thin, even passes. Or use a spray for a super even finish.
- Varnish in a clean room. Keep dust low. Let it cure flat.
This final step completes how to use oil paint on wood with a pro finish.
Common Mistakes and How to Avoid Them
Here are errors I made early on and how to dodge them.
- Skipping the back seal: Panels warp if only the face is sealed. Seal every side.
- Thick first layers: The surface can wrinkle as it dries. Start lean and thin.
- Using house primer: It is not made for fine art. Use real gesso or oil ground.
- Oily rags in the trash: They can self-ignite. Use a metal safety can.
- Rushing varnish: Trapped solvent can cloud the film. Wait for proper cure.
If you want to learn how to use oil paint on wood the right way, these checks will save you time and money.
Troubleshooting and Repairs
Stuff happens. Here is how to fix common issues.
- Sunken-in spots: This looks dull and patchy. Oil out with a thin mix of medium and OMS. Wipe off excess.
- Adhesion problems: If paint lifts, the ground may be slick or oily. Lightly sand, clean, and repaint thin.
- Hairline cracks: Often from thick lean layers under fat ones. For small cracks, leave them if stable. For larger ones, consult a conservator.
- Warped panel: Add a cradle to the back or frame it. Keep it in a stable climate.
These fixes support the core aim of how to use oil paint on wood for a stable, clean result.

Safety, Ventilation, and Cleanup
Oil paint is safe with good habits. Respect solvents and oily rags.
- Ventilation: Use a fan that exhausts air. Or paint with low-odor mediums.
- Gloves and skin safety: Avoid solvent on skin. Wash with soap, not solvent.
- Rags: Dry them flat outdoors or store in a sealed metal can. Fire risk is real.
- Waste: Follow your local rules. Do not pour solvent down the drain.
This is a key part of how to use oil paint on wood with confidence.

Project Ideas and Practice Exercises
Try small panels to build skill and speed.
- Value study: Paint a simple object in black and white. Focus on edges and tone.
- Limited palette: Use titanium white, yellow ochre, ultramarine, and burnt sienna. Learn mixing and harmony.
- Texture sampler: Prime three panels: smooth, medium, and rough. See how the brush feels on each.
- Glaze test: Make a small painting in two layers. Then glaze color over dry paint.
These small wins make how to use oil paint on wood feel natural. You will see progress fast.
Maintenance and Display Tips
Care helps your work last.
- Frame with spacers so the panel does not touch glass.
- Keep out of direct sun and away from heat vents.
- Dust with a soft brush. Do not use cleaner on varnish.
- Track date and materials on the back. This helps later care.
Good storage and display keep your lessons on how to use oil paint on wood paying off for years.
Cost and Time Planning
Oil on wood can be budget friendly. Plan costs to avoid stress mid-project.
- Panels: Pre-made panels save time. DIY cuts cost but need tools.
- Grounds and mediums: A quart goes far. Share with friends to save.
- Time: Prep takes a day with drying. Painting can be fast with thin layers.
- Varnish: One bottle can finish many works. It is worth it for protection.
A simple plan frees your mind to paint. It also supports a steady practice of how to use oil paint on wood.
Frequently Asked Questions of how to use oil paint on wood
Do I need to prime wood before oil paint?
Yes. Prime to block oil from soaking in and to add tooth. Gesso or oil ground both work well.
Which is better, acrylic gesso or oil ground?
Acrylic gesso is fast and easy to sand. Oil ground gives a classic glide and rich feel.
How long should I wait before varnishing?
Wait until the paint cures, not just dries to the touch. Thin works may be ready in 2–3 months; thicker ones take longer.
Can I paint directly on raw wood?
You can, but it is risky. Oil can weaken raw wood fibers and cause sink-in and cracking.
What does fat over lean mean?
Each new layer has more oil or medium than the last. This keeps upper layers flexible and reduces cracking.
Conclusion
You now know how to use oil paint on wood from start to finish. Seal all sides, prime with care, and build thin layers with fat over lean. Give each stage time to dry. Protect the surface with a good varnish.
Set up one small panel this week and follow the steps. You will feel the control and see the color depth right away. Want more guides like this? Subscribe and share your questions so I can help with your next panel.
Related posts:
 Best Paint Stripper for Wood (2026) – Top Options for Smooth, Clean Results
 Which Zinsser Primer to Use on Varnished Wood (2026) – Pro Tips for Smooth, Long‑Lasting Paint
 Emulsion Paint Vs. Oil-Based Paint: Ultimate Comparison Guide
 Best Paint for Kitchen Cabinets Without Sanding – No Prep, No Mess, Long-Lasting Results | Expert Tested