Flush with water or mineral spirits, disassemble, clean filters and tip, lubricate, reassemble.
If you want flawless finishes and a sprayer that lasts, learn how to clean a Wagner paint sprayer the right way. I’ve cleaned dozens on job sites and in small shops. This guide shows what works, what fails, and how to move fast without missing key parts. You will get pro tips, clear steps, and simple fixes you can trust.
Why cleaning your Wagner sprayer matters
A clean sprayer sprays smooth and even. A dirty sprayer spits and clogs. Paint can harden inside the pump, hose, and gun. That shortens life and wastes time on every job.
I learned this the hard way on a rental unit. A five-minute flush was skipped. Next day, the pump stuck. We lost an hour. Clean gear saves work and money. If you came here to learn how to clean a Wagner paint sprayer, you are already ahead.
Know your sprayer and your paint
Wagner makes airless, HEA, and HVLP sprayers. Cleaning steps are the same at heart. But parts and flow paths differ.
- Water-based paints and primers: Use warm water for rinse and flush.
- Oil-based coatings and stains: Use mineral spirits or the solvent on the can.
- Clear coats and lacquers: Use the maker’s recommended thinner.
Match solvent to paint. Never mix water with oil-based residue in the sprayer. This simple rule drives how to clean a Wagner paint sprayer without damage.

Tools and supplies you will need
- Buckets for dirty and clean solvent or water
- Garden hose or sink with warm water
- Mineral spirits or proper thinner for oil-based products
- Wagner Pump Saver or storage fluid for airless units
- Soft nylon brushes and a toothbrush
- Cleaning needles for tips and nozzles
- Rags, paper towels, and a small pick set
- Light machine oil or sprayer lube for seals
- Nitrile gloves, safety glasses, and good airflow
These basics are my standard kit for how to clean a Wagner paint sprayer fast and safe.
5 Best Wagner HVLP Paint Sprayer: Pros Recommend (Even for Beginners)
Step-by-step: how to clean a Wagner paint sprayer
Read your model manual if you have it. Then follow these proven steps. I use this exact workflow on Flexio, Control Pro, and older Wagner airless rigs.
- Make it safe
- Unplug or switch off the sprayer.
- Relieve pressure. Trigger into a waste bucket. Lock the trigger.
- Remove the paint source. For a cup gun, dump the cup. For airless, pull the suction from the pail.
- Pick the right flush
- Water-based paint: Warm water with a drop of mild soap.
- Oil-based paint: Mineral spirits or listed thinner.
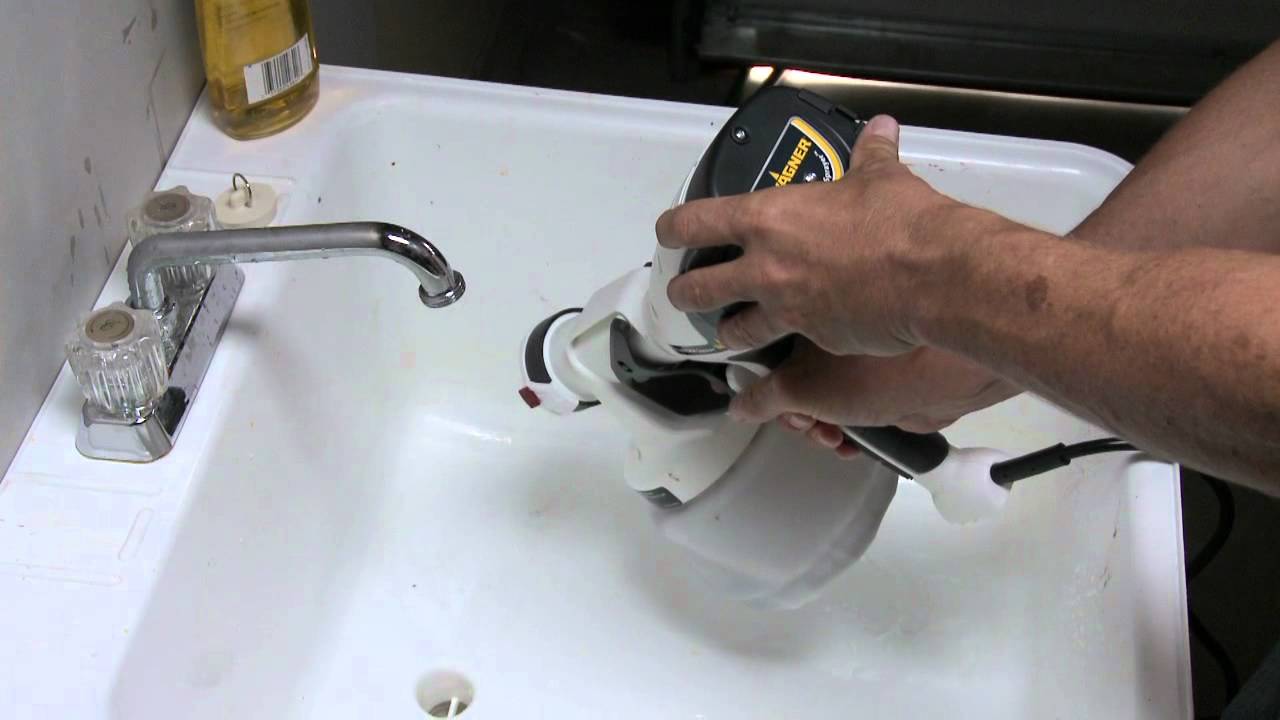
- Pre-rinse the gun and cup or suction set
- HVLP cup: Rinse the cup and suction tube. Wipe the gasket groove.
- Airless suction and return hoses: Rinse the outside. Place the suction in clean flush liquid and the return in a waste bucket.
- Flush the system
- Airless and HEA: Set the sprayer to prime. Cycle clean water or solvent until the return runs clear. Switch to spray mode. Trigger into the waste bucket. Continue until clear.
- HVLP handheld: Fill the cup with cleaner. Spray into a waste bucket until it sprays clear.
- Disassemble key parts
- Remove the spray tip and guard.
- Take out gun filters. Airless guns often have a filter in the handle.
- Pull the inlet filter and any manifold filter on the pump body.
- On HVLP, remove the nozzle, air cap, and needle if accessible per the manual.
- Clean parts by hand
- Use nylon brushes on tips, guards, and filters.
- Never use metal brushes on tips or soft seals.
- Push a cleaning needle through the tip orifice from the back side. Be gentle.
- Soak stubborn parts in the right cleaner for 10–20 minutes.
- Flush again for perfection
- Reinstall filters and tip loosely.
- Run a short final flush to push out hidden debris.
- Check spray into a clean bucket. It should be a steady fan, no spits.
- Lubricate and reassemble
- Wipe all threads dry.
- Add a drop of oil to moving seals and the piston rod on airless models.
- On HVLP, lightly lube the cup gasket if the manual allows.
- Reinstall the tip, guard, and clean filter(s). Tighten by hand, then snug.
- Protect for storage
- Airless: Circulate Pump Saver through the pump and leave it inside.
- HVLP: Store the unit dry. Keep seals clean and parts dry.
- Coil hoses without kinks. Hang the gun to keep dust out.
Real-world tip: If you spray all day, do a mini-clean at lunch. Flush for two minutes. Wipe the tip. It keeps you moving and helps the final clean go fast. This is the simplest way I know for how to clean a Wagner paint sprayer and keep it running like new.
5 Best Wagner Handheld Paint Sprayer: The Only Models Worth Your Money
Troubleshooting and mistakes to avoid
Common issues after cleaning come down to missed parts or wrong solvent.
- Spitting or pulsing spray: Air in the line or a clogged filter. Re-flush. Check the gun filter and inlet screen.
- Fan pattern is weak: Tip worn or still dirty. Swap tips or soak longer.
- Stuck prime valve: Dried paint in the valve. Soak and cycle cleaner on prime.
- Leaks at fittings: Missing or dry O-rings. Re-seat and add a drop of lube.
Mistakes to avoid when learning how to clean a Wagner paint sprayer:
- Do not force a metal brush through a tip.
- Do not leave water in an airless pump for long storage.
- Do not mix water with solvent waste. Keep waste types apart.
- Do not skip the gun filter. It traps the junk that clogs tips.
 Source: youtube.com
Deep clean and upkeep schedule
Good cleaning is a habit. Set a simple plan.
- After every spray day: Full flush, clean filters, wipe the gun and tip.
- Weekly during heavy use: Remove and soak filters and tips. Check the prime valve.
- Monthly or each 50 gallons: Deep clean the pump body screens. Inspect packings.
- Before long storage: Run Pump Saver. Bag the gun and tip to keep dust off.
When pros ask me how to clean a Wagner paint sprayer for the long haul, I point to this schedule. It prevents most repairs.
Quick answers while you clean
Can I switch from latex to oil without a full strip-down?
Yes, but you must flush with water first until clear, then flush with mineral spirits. Do not let water stay in the pump before adding solvent.
How long should a full clean take?
For water-based paint, plan 10–20 minutes. Oil-based may take 20–30 minutes due to soak time.
What if my sprayer sat overnight with paint?
Start with the right solvent and patience. Soak filters and tips longer. Cycle cleaner on prime until it breaks free, then finish the full clean.
Safety and environmental tips
- Wear gloves and glasses. Cleaners can irritate skin and eyes.
- Ventilate well when using mineral spirits. Keep away from flames or sparks.
- Collect waste in sealed containers. Follow local rules for disposal.
- Label your buckets. One for clean solution, one for waste.
- Keep kids and pets away from the cleaning zone.
These steps round out how to clean a Wagner paint sprayer without harm to you or your space.
Frequently Asked Questions of how to clean a wagner paint sprayer
How often should I clean my Wagner sprayer?
Clean after every use. If you pause for more than 30 minutes, do a quick flush so paint does not start to set.
Can I use vinegar to clean my sprayer?
Use water for latex and mineral spirits for oil-based. Vinegar is not strong enough for most paint residues and can leave smells.
What lubricant should I use on seals and the piston?
Use the light machine oil recommended in your manual or the brand’s sprayer lube. Avoid heavy grease, which can trap debris.
Do I need to clean the hose every time?
Yes, flush the hose until the cleaner runs clear. Residue in the hose is a common cause of next-day clogs.
How do I know the sprayer is fully clean?
Spray into a clean bucket and check the fan. It should be even, with no spits. Filters and tips should look clear with no soft paint film.
Conclusion
Clean gear is fast gear. Now you know how to clean a Wagner paint sprayer with the same method pros use every day. Use the right solvent, flush well, scrub filters, protect with storage fluid, and your sprayer will repay you with smooth coats.
Make this routine part of your clean-up today. If this helped, share it with a friend, subscribe for more how-to guides, or drop a question in the comments.