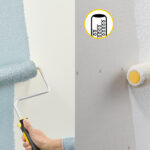
For Level 5 drywall, you should use a smooth, low-nap roller—typically ¼″ to ⅜″ nap (6–10 mm)—to apply paint or primer. A shorter nap helps create an ultra-smooth finish by minimizing texture and roller stipple, which is critical on Level 5 surfaces designed for flawless appearance. Using a high-nap roller can leave noticeable roller marks or texture that defeats the purpose of the high-finish drywall, so stick to low-nap covers and high-quality paint for best results.
Top Picks for Level 5 Drywall
Product Why it’s Best for Level 5 Link Purdy White Dove (1/4″ Nap) The industry standard for a lint-free, smooth finish on plaster and Level 5. View on Amazon Wooster Microfiber (1/4″ Nap) Picks up and releases paint more evenly than standard rollers to prevent “lap lines.” View on Amazon Zinsser Bulls Eye 1-2-3 The best primer for Level 5 to seal the mud and ensure the topcoat sticks perfectly. View on Amazon
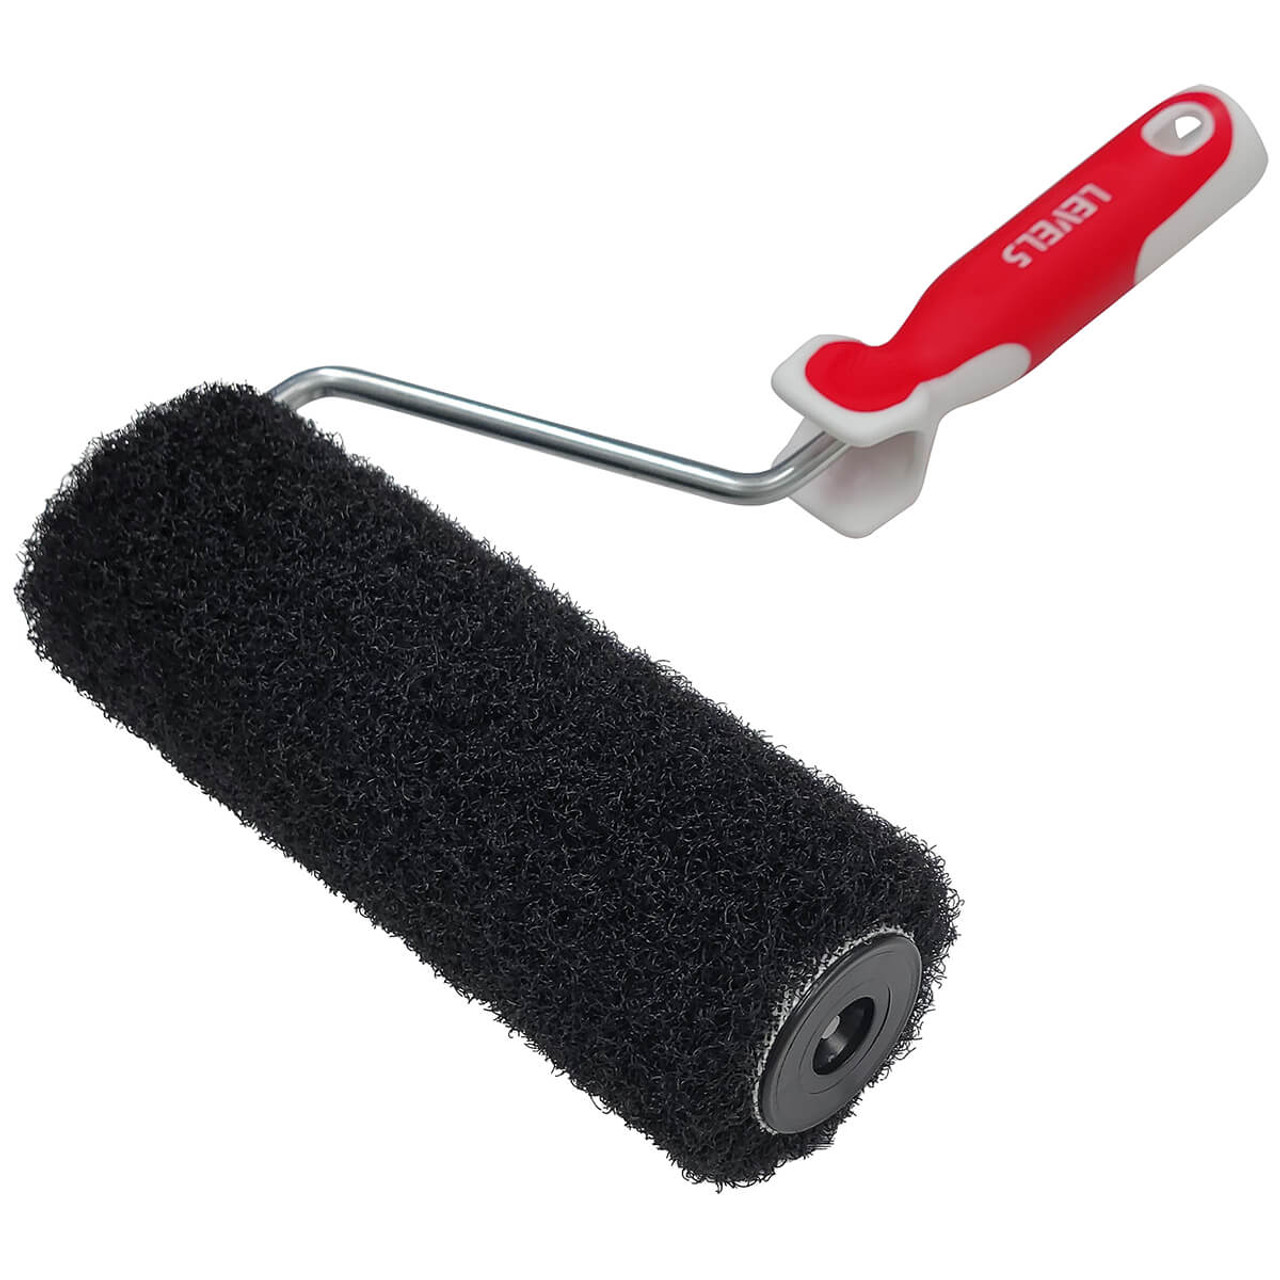
For level 5 drywall, use a 3/8-inch microfiber or 1/4-inch high-density foam roller.
You nailed the skim coat and the surface looks like glass. Now you’re wondering what nap roller for level 5 drywall will keep it that way. I’ve finished countless high-end walls and ceilings, and the right roller nap is the difference between a perfect, uniform sheen and a subtle, maddening stipple. In this guide, I’ll explain what nap roller for level 5 drywall delivers pro results, why it works, and how to use it without leaving a trace.
Best Paint Roller – Expert-Tested Rollers for Walls & Ceilings
What a Level 5 Drywall Finish Really Means
A level 5 finish is the smoothest drywall standard. It adds a full skim coat over taped and sanded boards. The goal is to hide all joints, fasteners, and paper texture under paint and light.
This finish is unforgiving. Any roller texture, lint, or lap marks will show. So answering what nap roller for level 5 drywall is not about speed. It’s about control, clean layoff, and low stipple.
What nap roller for level 5 drywall? The short answer and why
Use a 3/8-inch shed-resistant microfiber for most walls and ceilings. Choose a 1/4-inch high-density foam or mohair for ultra-smooth walls, dark colors, or higher sheens. Both options keep texture tight and even.
Here’s how I decide what nap roller for level 5 drywall on site:
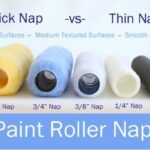
- 3/8-inch microfiber: Best all-around. Great paint load. Very fine stipple.
- 1/4-inch foam or mohair: Flattest laydown. Lower capacity. Slower but glassy.
- Avoid 1/2-inch unless back-rolling heavy primers or rough surfaces. It adds texture.
This approach matches how paint and primer flow. A short nap limits peaks and keeps the surface calm. That’s key on level 5, where light rakes across and exposes flaws.
How to Choose Roller Nap for Painting – Common Mistakes That Ruin Walls
Nap length and cover materials explained
Picking what nap roller for level 5 drywall comes down to fibers, fabric, and pile height.
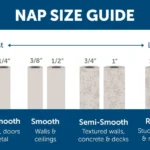
- Microfiber (3/8-inch): Fine fibers lay paint smoothly. Great for flats and mattes. Low lint.
- Woven microfiber or woven polyester: “Shed-resistant” and tight weave. Helps prevent fuzz in the finish.
- High-density foam (1/4-inch): Super smooth. Can show bubbles if you overwork. Ideal for doors, cabinets, and ultra-smooth walls.
- Mohair blend (1/4–3/16-inch): Old-school smooth. Nice with alkyds or hard acrylics. Light load.
- Lambswool and 1/2-inch+ naps: Too textured for level 5 walls. Save for masonry or heavy block fillers.
Pro tip from the field: If I’m rolling ceilings in bright, flat white, I still stick with 3/8-inch microfiber. It balances capacity and keeps stipple tight.
Primer and paint system for level 5
The best answer to what nap roller for level 5 drywall only works with the right system. Your primer matters as much as your cover.
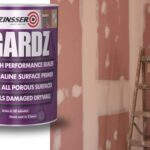
- Use a quality drywall primer or a dedicated sealer. It evens porosity and reduces flashing.
- For dark topcoats, tint the primer. Your finish will look deeper and more even.
- Choose flat or matte for most level 5 walls. Higher sheens show more texture and need shorter naps.
- Add a paint extender if you fight lap marks. It boosts open time and levels better.
I often prime with a 3/8-inch microfiber, then switch to 1/4-inch foam for the final coat on critical walls. It’s slower, but the finish is premium.

What is considered a low nap paint roller?
Step-by-step: Rolling a level 5 wall without texture
If you came here asking what nap roller for level 5 drywall, here is the full process that makes it work.
- Prep the surface
- Sand lightly with fine grit to knock down nibs.
- Vacuum dust and tack with a microfiber cloth.
- Light the wall from the side to spot flaws.
- Prime clean and even
- Load the roller fully, then offload on the tray.
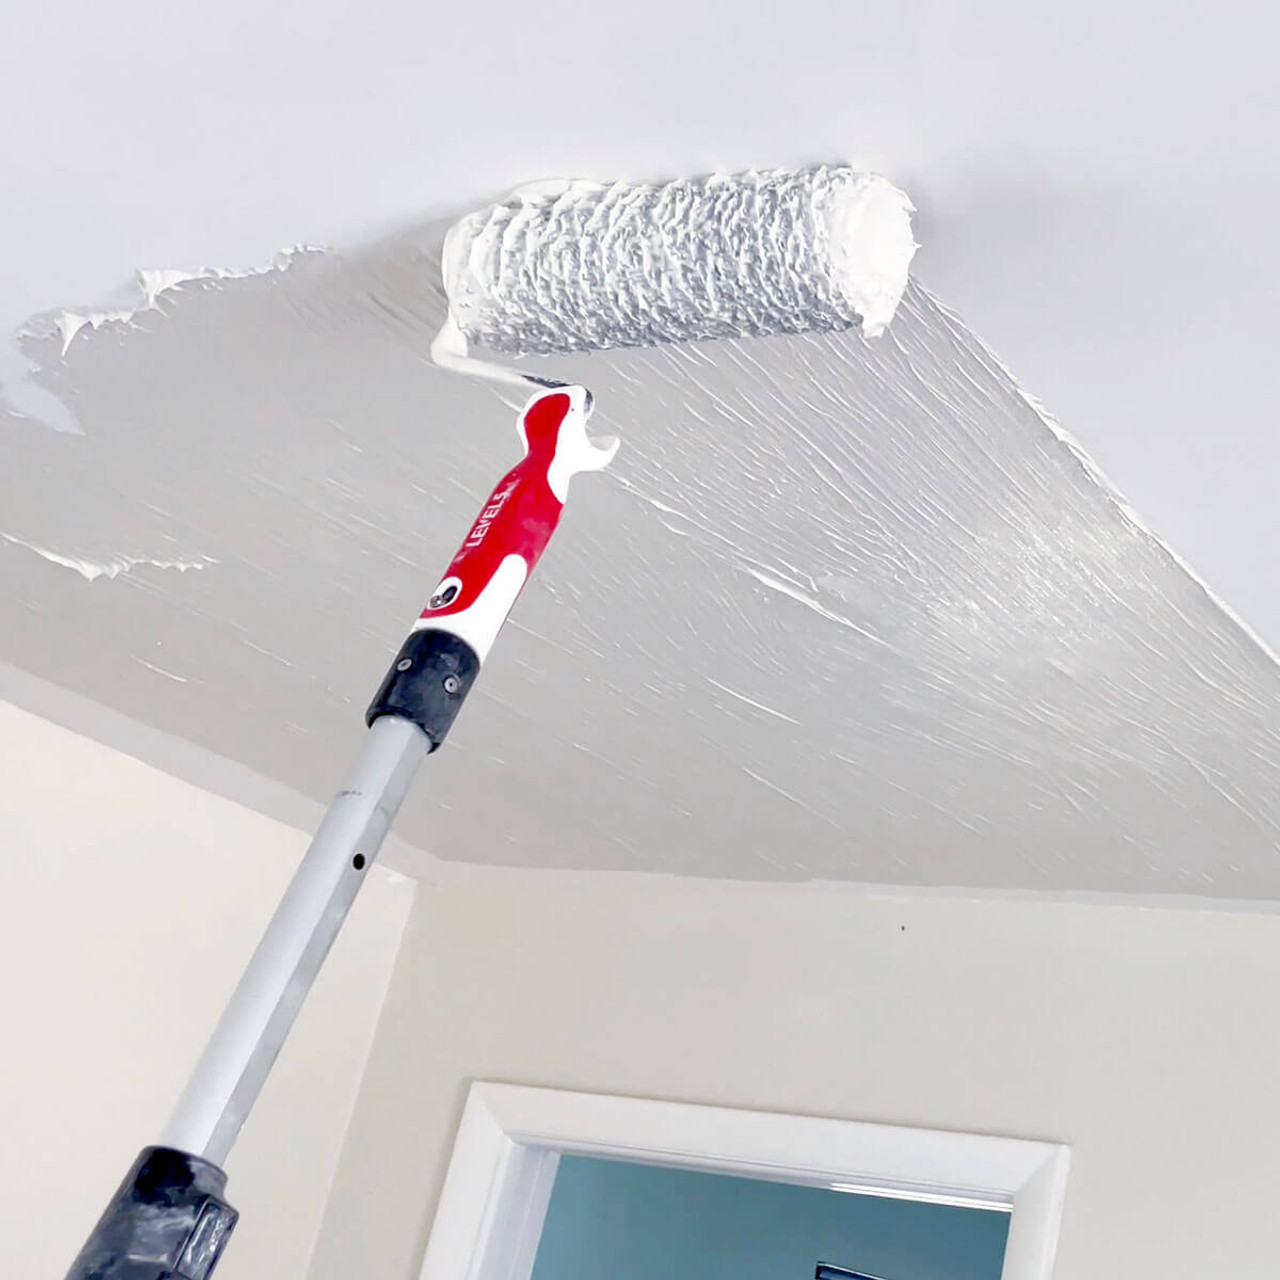
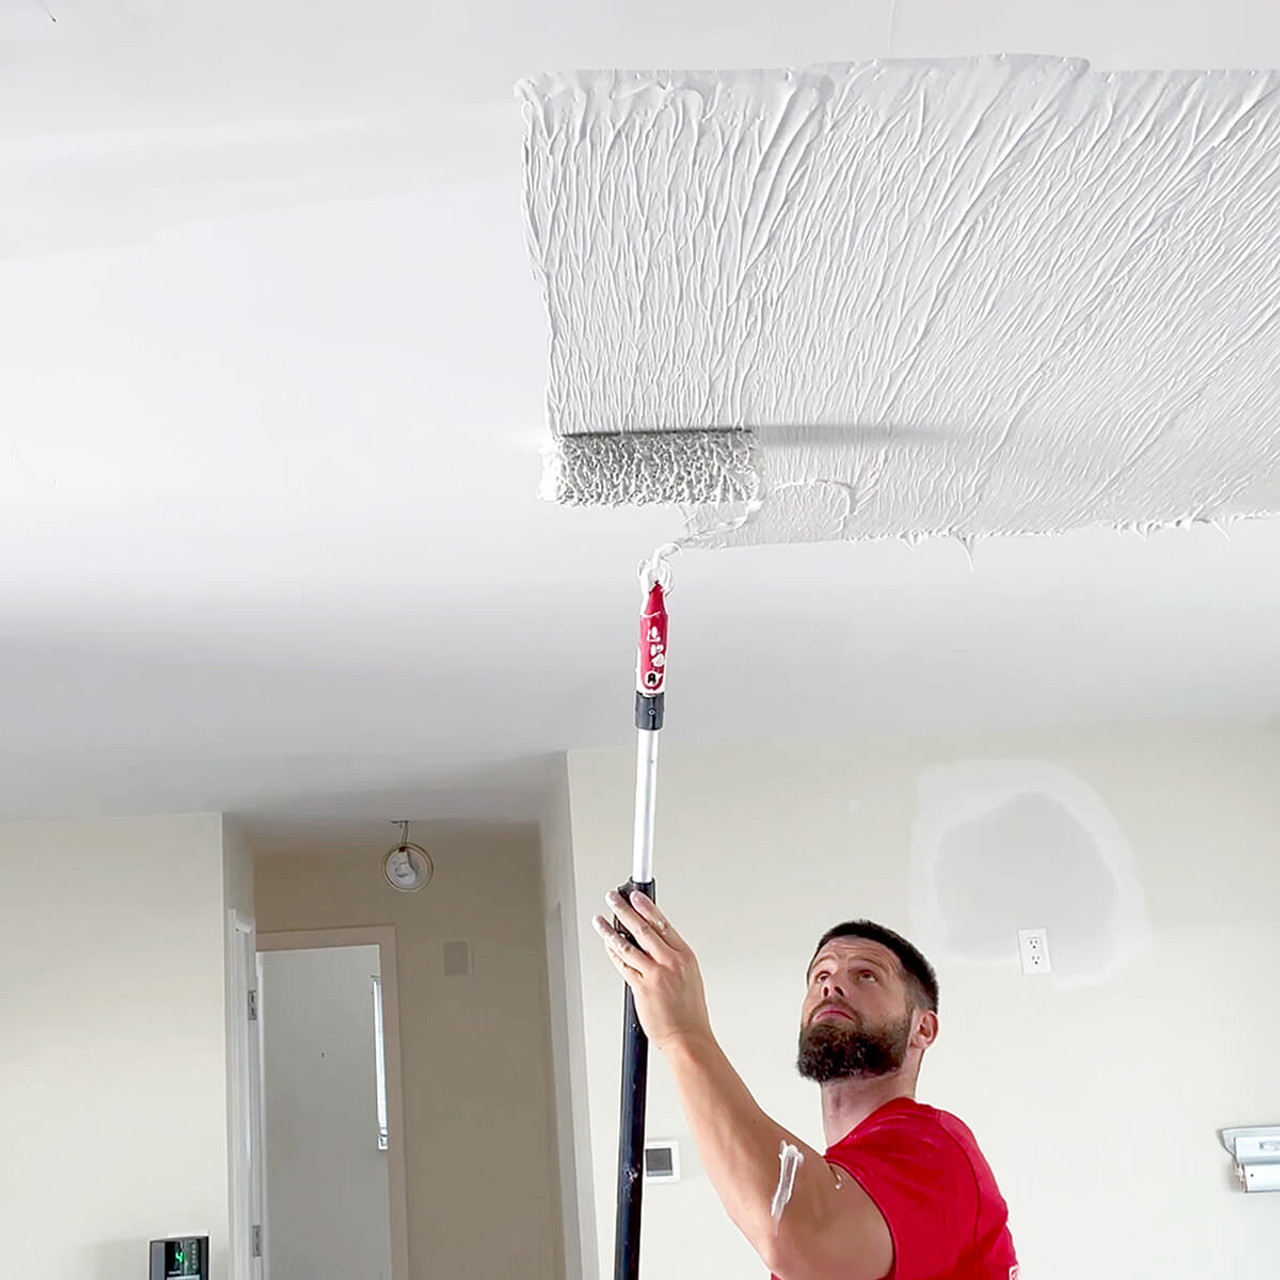
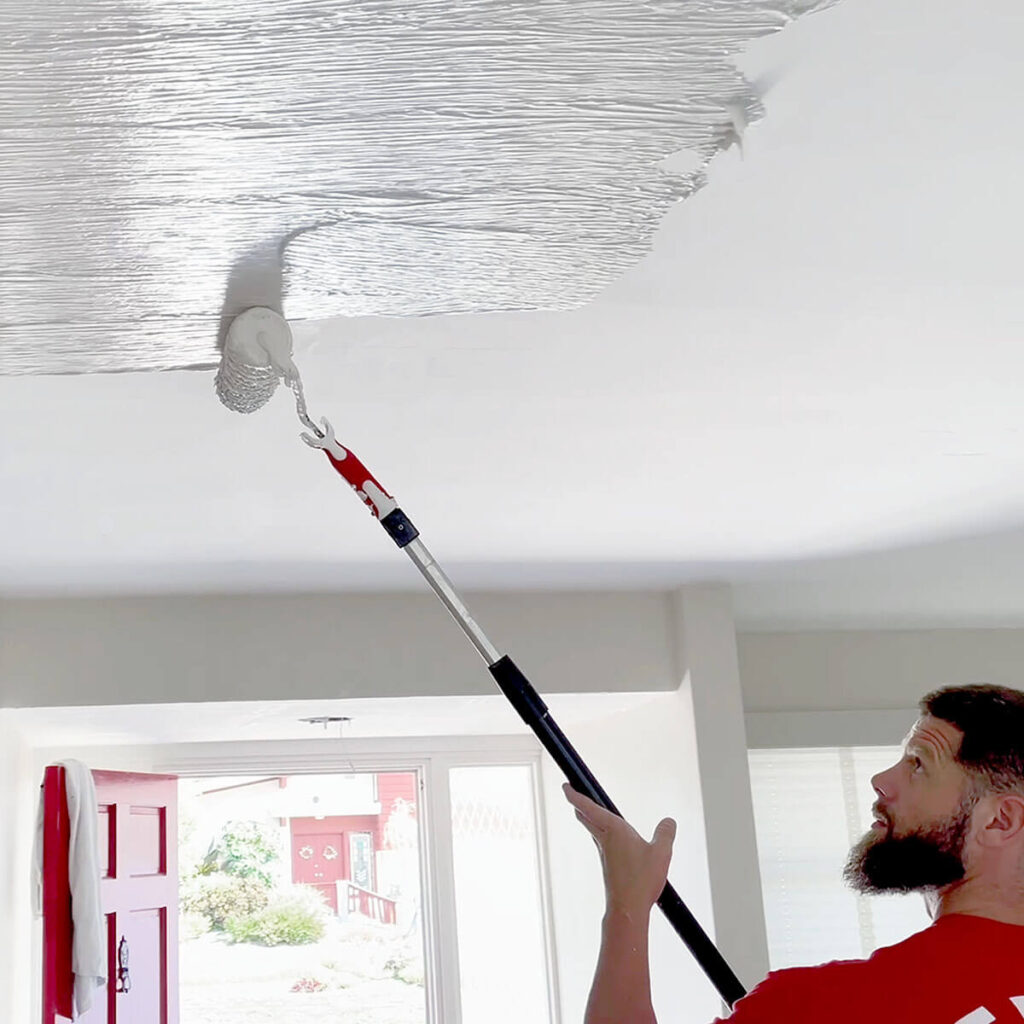
- Work in small sections. Keep a wet edge.
- Finish each section with light, one-direction passes.
- First finish coat
- Pick your cover: 3/8-inch microfiber for most jobs.
- Roll in a “W” pattern, fill, then level with light pressure.
- Lay off top to bottom in straight lines.
- Final coat finesse
- Switch to 1/4-inch foam or stay with 3/8-inch microfiber.
- Use fresh covers to avoid lint.
- Don’t overwork. Two light passes beat one heavy pass.
- Check for lap marks and touch-ups
- Maintain even lighting.
- Feather edges right away.
- Let the coat dry before judging.
Common mistakes and easy fixes
Even pros slip. When you’re figuring out what nap roller for level 5 drywall, watch for these:
- Lint in the finish
Rinse and spin covers before use. Choose shed-resistant, woven microfiber. - Roller tracks on edges
Use end-capped cores or roll off the edge lightly. Keep pressure even. - Orange peel or bubbles
Slow down. Don’t over-roll. Use an extender if paint tacks fast. - Flashing and picture framing
Prime well. Maintain a wet edge. Avoid cutting in too far ahead of rolling. - Stipple too heavy
Drop nap length. Switch to 1/4-inch foam or mohair for the last coat.

Pro tips and field notes from real jobs
I learned what nap roller for level 5 drywall the hard way—on a gallery job with raking light. A 1/2-inch knit cover left a whisper of texture. It looked fine head-on, but the lights told the truth. We re-coated with 1/4-inch foam, and the walls went silent.
More lessons that stick:
- New rollers shed. Pre-wash and tape-roll them to remove fuzz.
- Don’t chase every tiny line. Load properly and let the paint level.
- For ceilings over 10 feet, 3/8-inch microfiber wins for reach and flow.
- For deep colors in satin, finish with 1/4-inch foam and slow, one-way layoff.
- Keep covers fresh. One per coat on critical walls is cheap insurance.
These habits make your choice of what nap roller for level 5 drywall pay off with crisp, pro-grade results.
Frequently Asked Questions of What nap roller for level 5 drywall?
What nap roller for level 5 drywall if I’m using flat paint?
Use a 3/8-inch shed-resistant microfiber. It loads well and leaves a very fine texture that dries flat.
What nap roller for level 5 drywall for dark, rich colors?
Go with 1/4-inch high-density foam for the final coat. It reduces stipple and keeps the sheen even.
What nap roller for level 5 drywall when back-rolling after spraying?
Use a 3/8-inch microfiber. It smooths the spray pattern and keeps the film even without heavy texture.
What nap roller for level 5 drywall on ceilings with bright lighting?
Stick with 3/8-inch microfiber. It balances reach, capacity, and low stipple under harsh, raking light.
What nap roller for level 5 drywall if I see lap marks?
Use an extender in the paint and lighten your pressure. A 1/4-inch foam for the final pass can help.
Can I use a 1/2-inch nap on level 5?
You can for primers on rough areas, but not for finish coats. It adds texture that level 5 aims to avoid.
Do microfiber rollers shed?
Quality woven microfiber is shed-resistant. Rinse new covers and spin them dry before use to be safe.
Conclusion
If you want polished, uniform walls, keep the texture tight and the pressure light. For most jobs, a 3/8-inch shed-resistant microfiber is the best answer to what nap roller for level 5 drywall. For the most critical walls and higher sheens, finish with a 1/4-inch high-density foam or mohair.
Test a small area, check it under strong light, and adjust from there. Ready to dial in your setup? Try both covers on a sample wall, note the look as it dries, and share your results or questions in the comments.